Building your own DIY conservatory is simple. You don’t need to have past experience or the assistance of a DIY expert. All you need to do is apply some simple and easy-to-follow instructions as soon as you have the conservatory and working tools. It may seem a little overwhelming at first, but there’s no reason to be afraid. Besides, the fact that you get to save thousands of dollars by choosing to construct your own conservatory is totally worthwhile.
It takes just a few days to build a DIY conservatory, but you can also choose to take things at your own pace. I prefer to take my time, and this way, I get a perfectly matched, high-quality conservatory for my home that comes with a 10-year warranty.
- Building the Foundation:
Using the provided plan, dig several small holes and fill them with concrete or foundation blocks.
- Set up Fully-welded Sections
Cover the area with a mix of concrete, sand, and a few pieces of wood from the local hardware store or online shop like Cut My Plastic. You should label each section, and you will need to ensure that they correspond with the assembly instructions. This will help to make everything quick and easy. Next, bolt the sections together, level with the adjustable self-levelling tool, then bolt all as a whole to the walls of the house.
- Insulate the Floor
You need to insert an insulating sheet into the floor and use a moisture-resistant tongue and groove floor at the base.
- Skirt Fixing
Next, attach a skirt to the edge of the base. Due to sloping ground, elongated steel with deep skirts is produced and delivered as needed. That should be followed by skirt-fixing and recoating of the floor with the same material.
- Floor Protection
While the conservatory is being assembled, cover the floor with a suitable polyethene sheet to protect it from the rain.
- Install Wall Sections
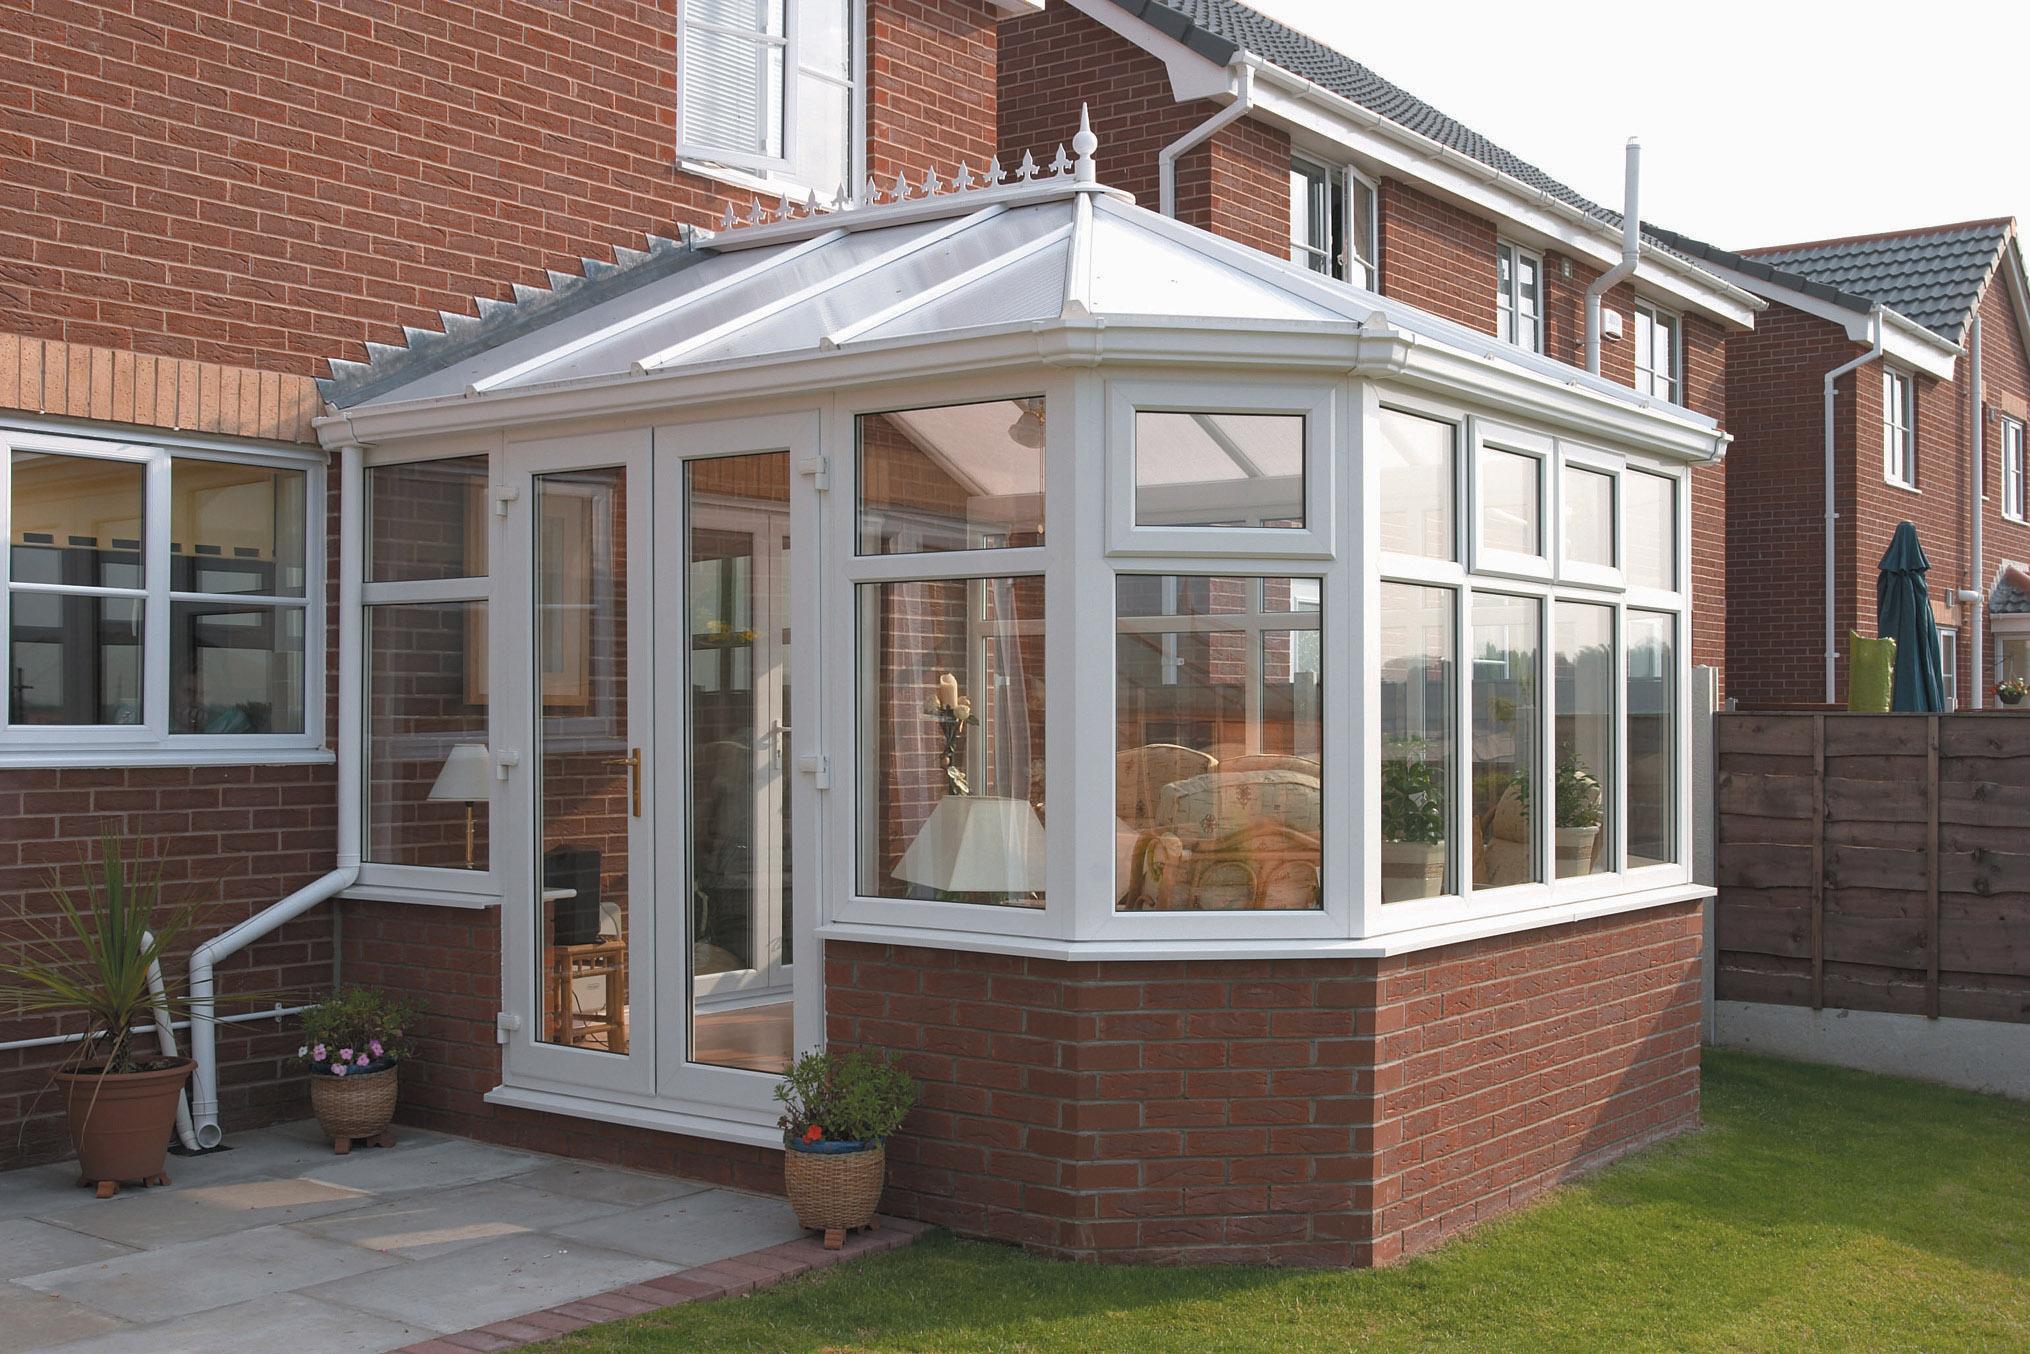
Modular walls made of galvanised steel should be supplied with factory-fitted and grouted brick slips. Wall sections are well-positioned and labelled to correspond with the attached installation instructions. Each section of the wall is basically bolted and secured to the base. Finish the joints with the spare brick slips, grout, and adhesives, which should all be available in the supplied conservatory kit. Once dried, the joints look exactly like a conventional build.
- Install Conservatory Frame
The conservatory cill is placed directly on the floor of the base on the walls, or in case of a high-frame conservatory, it is placed on top of the walls. The conservative frames are set, screwed down to the walls, and firmly connected to the wall of the house. Make sure all fixings, connectors, and corner posts are supplied. With truck hire via TR Group or other logistics help, getting all your conservatory needs on location should be quick and easy.
- Roof Installation
The beam of the roof rim is mounted on top of the conservatory plates, and the final mountings can be rendered and tightened when everything is square. The conservative roof is mounted and attached to a wall of the house, following the instructions given. You are beginning with the wall plate, ridge, and rafters.
- Conservatory Glazing
For maximum security, the conservatory frames are glazed internally by placing the glass pieces from within and tapping into the glazing beads. Roof support bars are mounted where appropriate. Simply place the roof glazing, which can be polycarbonate or made of either double glazed glass panes, on the rafter bars and finish with rafter covers or end caps.
- Final Decorations
As soon as the roof glazing is completed, fit the decorative ridge cap, then the gutter, downpipe, and interior trims. Note that all of these mentioned items and the others from the above sections are typically included in the kit.
Conclusion
When it comes to green energy, the location of the conservatory makes a major difference. South-facing conservatories are likely to get very hot in the summer months and unlikely to be dry enough to use in the winter without a big heating bill. In fact, with a north-facing conservatory, you can comfortably enjoy your structure for many months of the year because it will be in the shade during the hottest periods.
The natural place for a conservatory is at the back of the property, connecting it to both the house and the garden. It can also be used to provide odd spaces in other parts of the house. Front-positioning makes for spectacular entrances and a refreshing alternative to a standard porch.
Leave a Reply